Introduction:
This project was made up of smaller aspects, leading up to the design and planning of an outdoor classroom. We started with a solar water heater lab, to work with conduction and insulation, then did a materials testing lab to experiment with different materials, and how they would benefit our outdoor design. This project taught
us about important aspects of the classroom like heating, conduction, insulation, weathering, sun's angles, and materials.
Solar Water Heater:
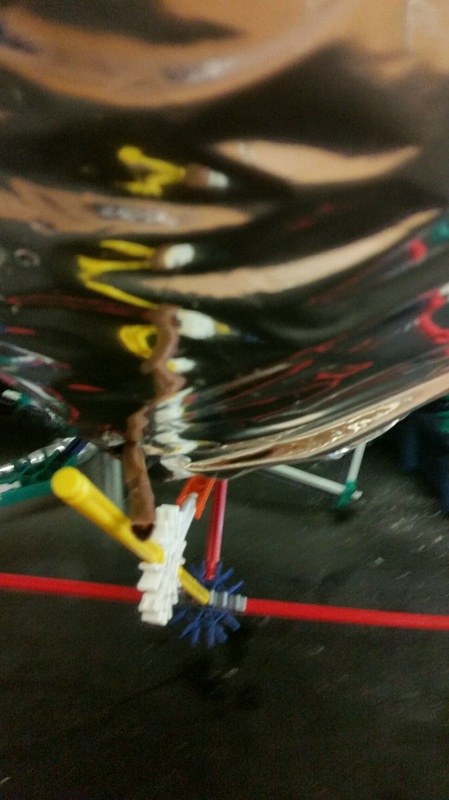
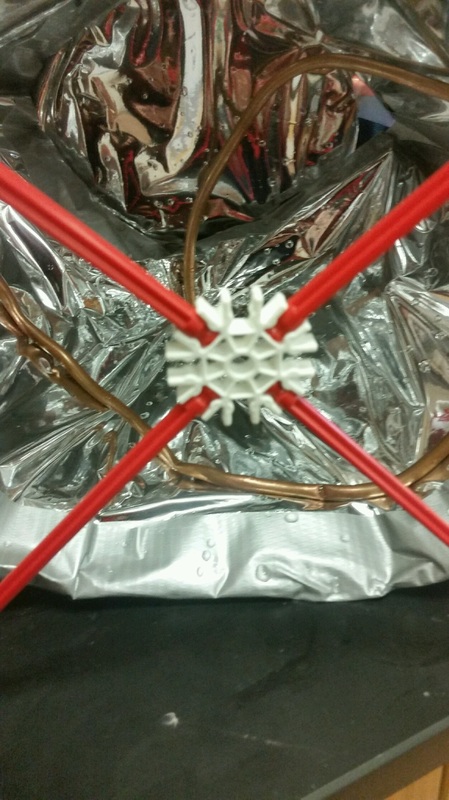
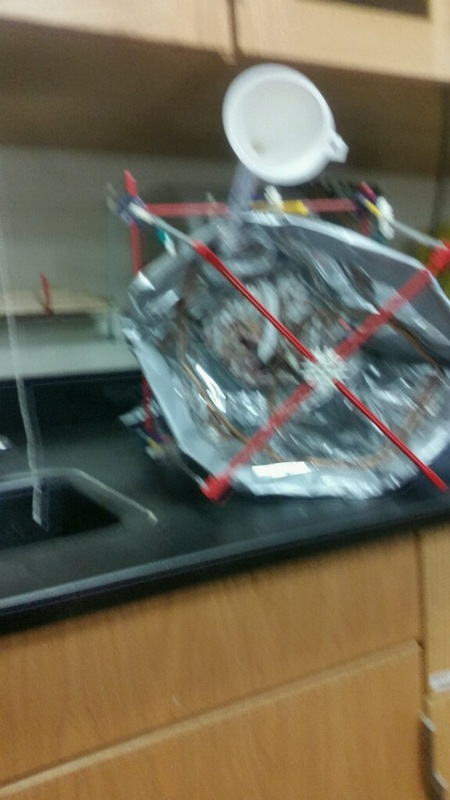
During this lab we designed, built, and tested the effectiveness of a solar water heater.
-We used piping, Mylar, and connecters to carry out our design.
-We tested the design and our design was very flawed and only heated about 3 degrees because of the design and human error of not keeping the water in for the correct amount of time. Some design issues with our heater were the shape and drip control.
- The cup shape was a problem because if it was angled even slighty off, the heater would barely pick up any sunlight and the heater would not work to its full extent.
- Another one was drip control. We did not have a plug so we just held it which did not work well, and we ended up letting cold water in more often than we needed to, so the cold water cooled down the hot water
This project was made up of smaller aspects, leading up to the design and planning of an outdoor classroom. We started with a solar water heater lab, to work with conduction and insulation, then did a materials testing lab to experiment with different materials, and how they would benefit our outdoor design. This project taught
us about important aspects of the classroom like heating, conduction, insulation, weathering, sun's angles, and materials.
Solar Water Heater:
During this lab we designed, built, and tested the effectiveness of a solar water heater.
-We used piping, Mylar, and connecters to carry out our design.
-We tested the design and our design was very flawed and only heated about 3 degrees because of the design and human error of not keeping the water in for the correct amount of time. Some design issues with our heater were the shape and drip control.
- The cup shape was a problem because if it was angled even slighty off, the heater would barely pick up any sunlight and the heater would not work to its full extent.
- Another one was drip control. We did not have a plug so we just held it which did not work well, and we ended up letting cold water in more often than we needed to, so the cold water cooled down the hot water
|
|
|
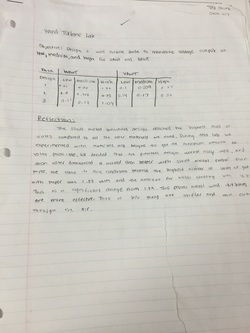
Wind Turbine Lab:
We designed, built, and tested small paper and sheet metal wind turbines. We made three HAWT (Horizontal Axis Wind Turbine) and three VAWT (Verticle Axis Wind Turbine) designs and found many conlcusions. Some include:
- Sheet metal move faster than paper designs in high wind
- Three blades was the ideal amount for the most volts.
The results of the lab are presented below
Materials Testing Lab:
We tested materials such as:
- sand, bark, dirt, gravel, plexiglass, tarp, plastic, pine wood, pressure treated wood, redwood, cement, rubber, brick, blackwood, white wood, yellow wood, green wood, steel, and aluminum
- we came to the following conclusions for each group of materials:
- bark maintained the lowest temperature when compared to dirt, sand, and gravel
- sand reached the hottest temperature when compared to dirt, bark, and gravel
- steel fluctuated most when compared to aluminum, brick, pressure treated wood, and cement
- brick stayed the most stable when compared to aluminum, pressure treated wood, cement, and steel
- black wood reached the highest temperature when compared to other painted woods
-white wood stayed the most stable compared to all the painted woods
- rubber reached the highest temperature when compared to pressure treated wood, plexiglass, tarp, and plastic
- plexiglass stayed most stable when compared to rubber, pressure treated wood, tarps, and plastic
- This lab taught us what materials worked best for certain parts of our design
- Lab Data: https://docs.google.com/spreadsheets/d/1ddypjn9ikkl8zxYncXGBVuCyJaUOLF9J8zEToDIvsR4/edit#gid=0
The Outdoor Classroom:
- Our first step was site selection. we looked at many sites but ultimately decided on the box between the art building and the cafeteria.
- We measured our site and it was 41 inches in length and 28 inches in width
- Then, to see what the general public wanted, we conducted a survey to research client needs
survey: https://docs.google.com/spreadsheets/d/1EQFHNU6X9jHaMICgCoxTiwbDdhbG9oIG7TqnHahVGLM/edit#gid=1437082911
- From our survey we decided on amphitheater seating, a teacher stage, a whiteboard, and a shade structure because they met the most client needs.
- Due to our design, the shade structure only needed to be effective for the stage because only the speaker would be facing the sun
- Our benches would have two 6 foot curves and an 8 foot straightway in the middle
- We would have two rows of benches. The back most bench would be 25 inches tall and the front bench would be 18 inches tall. These benches would be made of pressure treated wood.
-Our stage would be made of composite decking
- We created a 3D model representing our design (see slideshow)
- We created blueprints of each aspect of the design (see slideshow)
- We created a budgeting sheet to track and manage our money:
https://docs.google.com/spreadsheets/d/1rgHvmrtw-PH0C8aPKpILrUWmcVGQAE2ATEv7DnicH3k/edit#gid=0
- We then created a presentation to explain the just of our idea to the judges and verbalize our ideas
Outdoor Classroom Concepts:
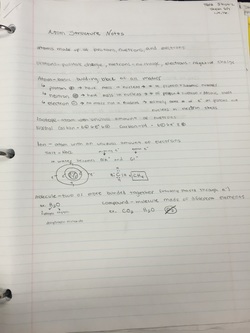
- Atoms, Molecule Structure, and State of Matter
- atoms and molecule structure: we started the semester by talking about quantum physics, which was confusing and a clear message on how much more we have to learn. We talked about everything from how humans are made of cells, which are made of atoms, which are made of protons and nuetrons, and so on, to anything as mindblowing as an atom's size.
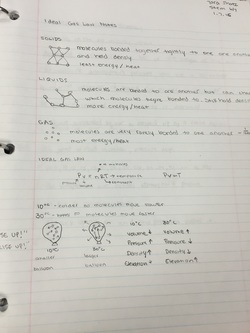
- States of matter: There are 4 states of matter.
1. solids- tightly packed molecules with little space to move so they only vibrate
2. liquids- similar density to solid and stays the same shape as its contained with medium space between molecules
3. gas- stays in container shape and and has larger space between molecules that fly around
4. plasma- when electrons spring off of gases, form ions, and emits light
- Atoms, Molecule Structure, and State of Matter
- atoms and molecule structure: we started the semester by talking about quantum physics, which was confusing and a clear message on how much more we have to learn. We talked about everything from how humans are made of cells, which are made of atoms, which are made of protons and nuetrons, and so on, to anything as mindblowing as an atom's size.
- States of matter: There are 4 states of matter.
1. solids- tightly packed molecules with little space to move so they only vibrate
2. liquids- similar density to solid and stays the same shape as its contained with medium space between molecules
3. gas- stays in container shape and and has larger space between molecules that fly around
4. plasma- when electrons spring off of gases, form ions, and emits light
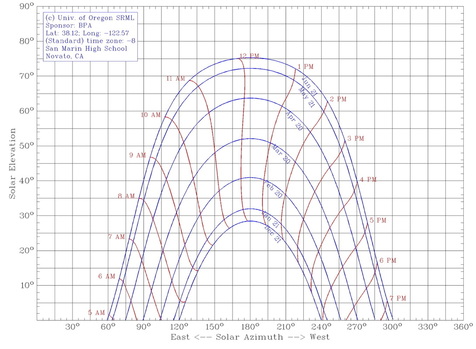
- Angles of the Sun
- How the angles work according to the University of Oregon Solar Radiation Montoring Lab's Sun Chart Program.
- How the angles work according to the University of Oregon Solar Radiation Montoring Lab's Sun Chart Program.
- Laws of Thermodynamics
Why should you use less electricity?
https://docs.google.com/document/d/1xNlfcVQ0EfdhCoEf6vTE0RzP6w0dYkSAyULe8hU66TA/edit
Reflection:
This project was useful in terms of designing and planning an outdoor classroom. We learned about insulating, conduction, design, material testing, and presenting ideas. Brigid O'Brien, Casey Leong, and Joey Stickle were in my group and for the most part we worked well together. One thing that I could have improved on was work ethic. I tended to stray from the topic at hand and can improve on that by staying focused. Another thing I struggled with was standing up for my ideas. My ideas were sometimes unheard by group members. However, I was able to work well closer to the deadline. I was productive on the slideshow and blueprints. My group was also good at balancing work and fun so the project wasn't very boring. Overall it taught us about different aspects of building and design as well as presenting.
This project was useful in terms of designing and planning an outdoor classroom. We learned about insulating, conduction, design, material testing, and presenting ideas. Brigid O'Brien, Casey Leong, and Joey Stickle were in my group and for the most part we worked well together. One thing that I could have improved on was work ethic. I tended to stray from the topic at hand and can improve on that by staying focused. Another thing I struggled with was standing up for my ideas. My ideas were sometimes unheard by group members. However, I was able to work well closer to the deadline. I was productive on the slideshow and blueprints. My group was also good at balancing work and fun so the project wasn't very boring. Overall it taught us about different aspects of building and design as well as presenting.
